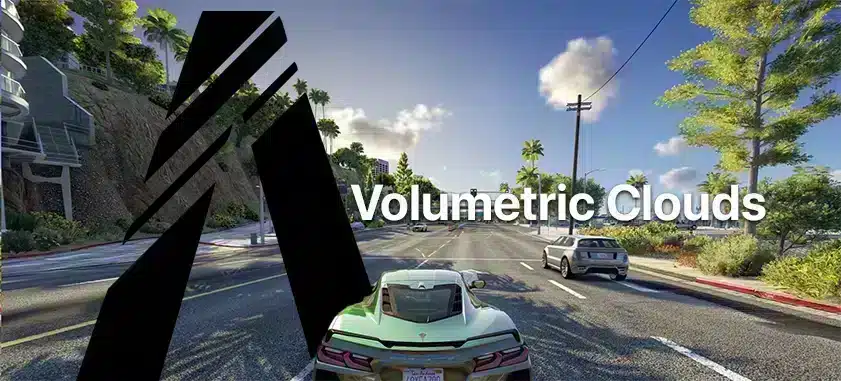
Volumetric clouds can significantly enhance the visual experience in FiveM, offering more dynamic and realistic scenes. This guide will walk you through the steps to implement volumetric clouds effectively in your FiveM setup.
Video Tutorial
This tutorial references a comprehensive YouTube video by Abou Malik ensuring a precise setup
Text-Tutorial (Easy!)
Step 1: Download Necessary Files
Before starting the installation, download all the necessary files:
- NaturalVision Evolved (NVE): Click here to download Naturalvision
- Reshade Shaders Pack: Available on Reshade’s official website.
Step 2: Install NaturalVision Evolved (NVE)
- Locate the 5M Application Data Folder:
- On your desktop, right-click on the FiveM icon, and select “Open file location.
- Unzip and Move Files:
- Unzip the NVE package.
- Navigate to the ‘main package’ folder, and drag all files into the ‘mods‘ folder within the FiveM application data directory.
- Optional Add-ons:
- NVE comes with optional add-ons if you wish to further customize your visual experience.
Stuck? Check out this video tutorial by RoboMods
Step 3: Install Reshade and Shaders
- Download and Install Reshade:
- Download Reshade from its official site and install it, selecting the ‘gta5.exe’ file as the target.
- Add the Shaders:
- Once installed, open the Reshade installation directory.
- Replace the default shaders with the volumetric clouds shader file.
Step 4: Adding Volumetric Clouds
- Locate and Open Reshade Presets:
- Return to the FiveM plugins directory, open the reshade shaders folder, and place the ‘volumetric_clouds.fx’ file in it.
- In-Game Setup:
- Launch FiveM and join a server.
- Open the Reshade menu by pressing the ‘Insert’ key.
- In the Reshade menu, navigate to ‘volumetric_clouds.fx’ and enable it.
- Adjust settings like cloud density, speed, and quality to your preference.
Step 5: Configure Game Graphics for Optimal Performance
- Open Game Settings:
- Navigate to ‘Settings’ > ‘Graphics.’ Set the render resolution to the highest your PC can handle for better graphics.
- Enable high-quality volumetric clouds from the Reshade menu.
- Adjust Render Resolution:
- Even if your monitor does not support high resolutions, upscale the game’s render resolution for better clarity. Adjust based on your performance benchmarks.
Done! Wasn’t hard right?
Tips for Advanced Customization
- Cloud Quality:
- Low, Medium, or High: Choose based on your PC’s capabilities.
- You can alter these settings even during gameplay for optimal performance.
- Cloud Types and Speed:
- Navigate to the cloud types setting in the reshade menu. Types ‘1’ and ‘3’ offer denser clouds for a dramatic look.
- Adjust speed to simulate various weather conditions.
Volumetric clouds can give your gameplay an immersive feel, making FiveM even more enjoyable. Be sure to keep experimenting with different settings and presets to find what appeals most to you.
Note: Always back up your original files before making any changes. This prevents any potential loss if you need to revert to the default settings.


