
Is it difficult to create FiveM MLOs? No. Do you want to bring your creativity to life? Nice. This guide will walk you through everything about creating MLOs for FiveM. By the end, you’ll have the basic skills to design and implement your own MLOs in FiveM, making your server more unique and engaging.
Introduction to FiveM MLOs
What is an MLO?
An MLO (Map Loader Object) is essentially an interior that you create within the world of Grand Theft Auto V (GTA V), which can be used in a FiveM server. MLOs give players the ability to enter new custom interiors like houses, shops, police stations, etc., without the need to replace existing GTA V assets.
Required Tools
- Blender: A free and powerful 3D modeling software. This will be our primary tool for designing and creating MLOs. > Download Blender
- CodeWalker: This tool allows you to explore and edit GTA V’s game world. It’s used for mapping and exporting models into a format usable by FiveM. > Download Codewalker
- GIMS Evo: A 3ds Max plugin that allows you to import and export GTA V’s game files. While not mandatory for everyone, it’s an option if you’re comfortable with 3ds Max. > Download GIMS Evo
- OpenIV: Used for extracting game assets such as textures or models from GTA V’s files. > OpenIV Download
- FiveM Server: You’ll need access to a FiveM server for testing your custom MLOs. > How To Create a FiveM Server
- ZModeler (optional): Another 3D modeling tool specifically designed for modding games like GTA V.
Once you’ve downloaded and installed these tools, you’re ready to start creating your own MLOs.
Setting Up Blender for FiveM MLO Creation
Blender is a versatile 3D modeling tool, but before you can start creating MLOs for FiveM, you’ll need to configure it correctly.
Step 1: Install the Blender Add-ons You will need the FiveM MLO tools for Blender, which include custom scripts to handle GTA V’s file formats. These add-ons streamline exporting and importing models.
- Open Blender.
- Navigate to
Edit > Preferences > Add-ons. - Search for any GTA V or FiveM-related add-ons that might have been developed by the community, such as export tools specific to .ydr or .ytyp files.
- Enable the necessary tools for the job.
Step 2: Setup Basic Units and Grid
- Go to
Scene Propertiesin Blender. - Change the units to Metric and set 1 Unit = 1 Meter.
- Set the grid scale to match GTA V’s world scale (this helps with accurate object placement).
Step 3: Basic Navigation Before starting the modeling, familiarize yourself with navigating Blender’s interface:
- Right-click to select objects.
- Shift + Right-click to select multiple objects.
- Middle mouse button to orbit the camera.
Creating the Basic Structure of an MLO
Once Blender is set up, it’s time to dive into the modeling part. Let’s start with creating the basic structure of a simple interior.
Step 1: Planning Your Interior Before you create anything, plan the layout. You can sketch the design on paper or create a simple blueprint. Decide on the following:
- How many rooms will it have?
- What purpose will it serve (e.g., house, garage, shop)?
- The size of the space in relation to the GTA V world.
Step 2: Starting with Basic Shapes
- Open Blender and start with a new project (
File > New). - Delete the default cube (
Xto delete). - Add a new cube (
Shift + A > Mesh > Cube). - Scale and position the cube to act as the foundation of your interior (
Sto scale,Gto move).
Step 3: Adding Walls, Floors, and Ceilings
- To create walls, select the cube and enter Edit Mode (
Tab). - Select the faces of the cube and extrude them to form walls (
Eto extrude). - For doors and windows, use the Knife Tool (
K) to cut shapes into the walls, then delete the faces for openings.
Step 4: Adding Details
- Once the basic structure is done, add details like furniture, stairs, or pillars by either creating more shapes or importing existing models.
- Use reference images or textures from OpenIV to make the interior look more authentic to the GTA V style.
Texturing and Materials
With the model structure in place, it’s time to give it some texture.
Step 1: Importing Textures from OpenIV
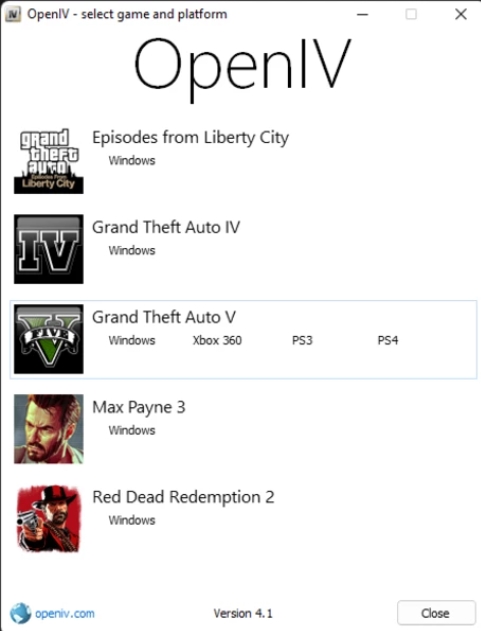
- Open OpenIV and navigate to the GTA V folder to extract textures you want to use.
- Save these textures to a folder that can be easily accessed.
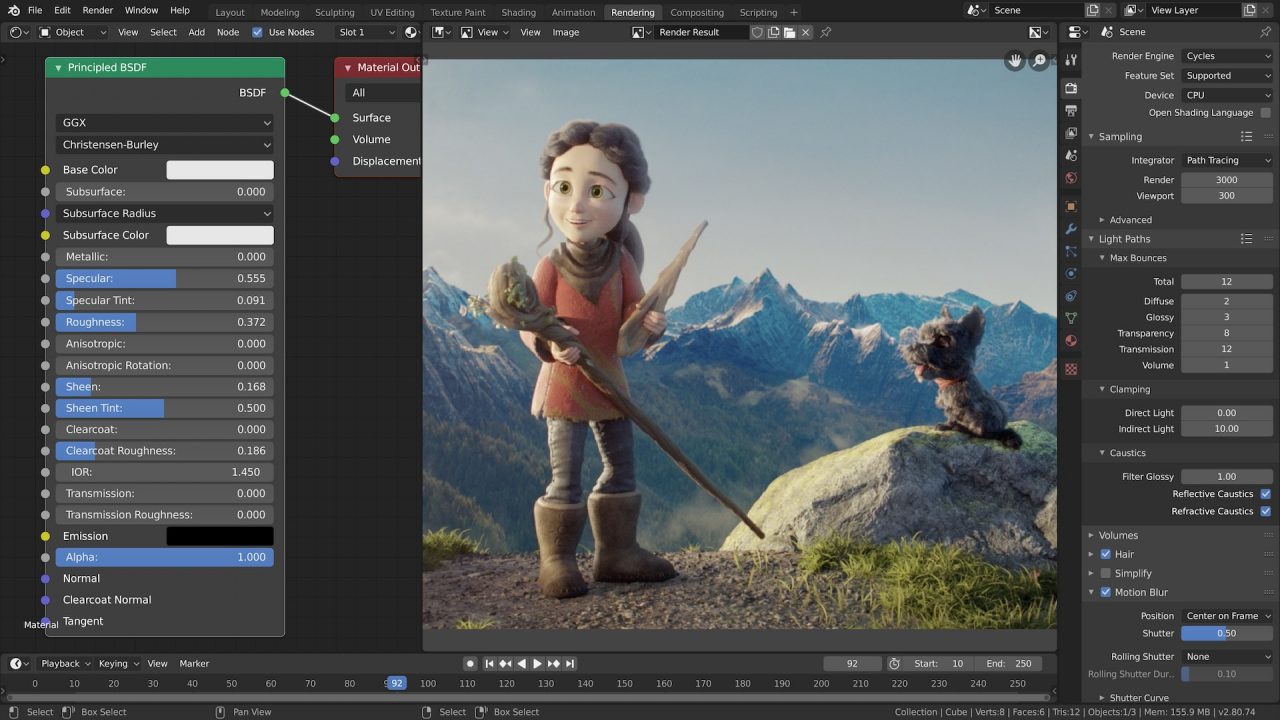
Step 2: Applying Textures in Blender
- Go to the Shading tab in Blender.
- Select the object or face you want to texture.
- In the Shader Editor, add an Image Texture node and open the texture you extracted from OpenIV.
- Connect the Image Texture node to the Principled BSDF shader for realistic rendering.
- Adjust the UV mapping (
Ufor unwrap) to fit the textures correctly on the model.
Exporting the MLO to FiveM
Now that your model is complete, it’s time to export it to a format usable by FiveM.
Step 1: Exporting as .ydr or .ytyp Files
- In Blender, ensure the model is selected and ready for export.
- Export the model using the add-ons you installed earlier. Export it as a .ydr (Ymap Drawable) or .ytyp file, depending on whether it’s a static object or a more complex structure.
- Make sure to set the correct file paths for export.
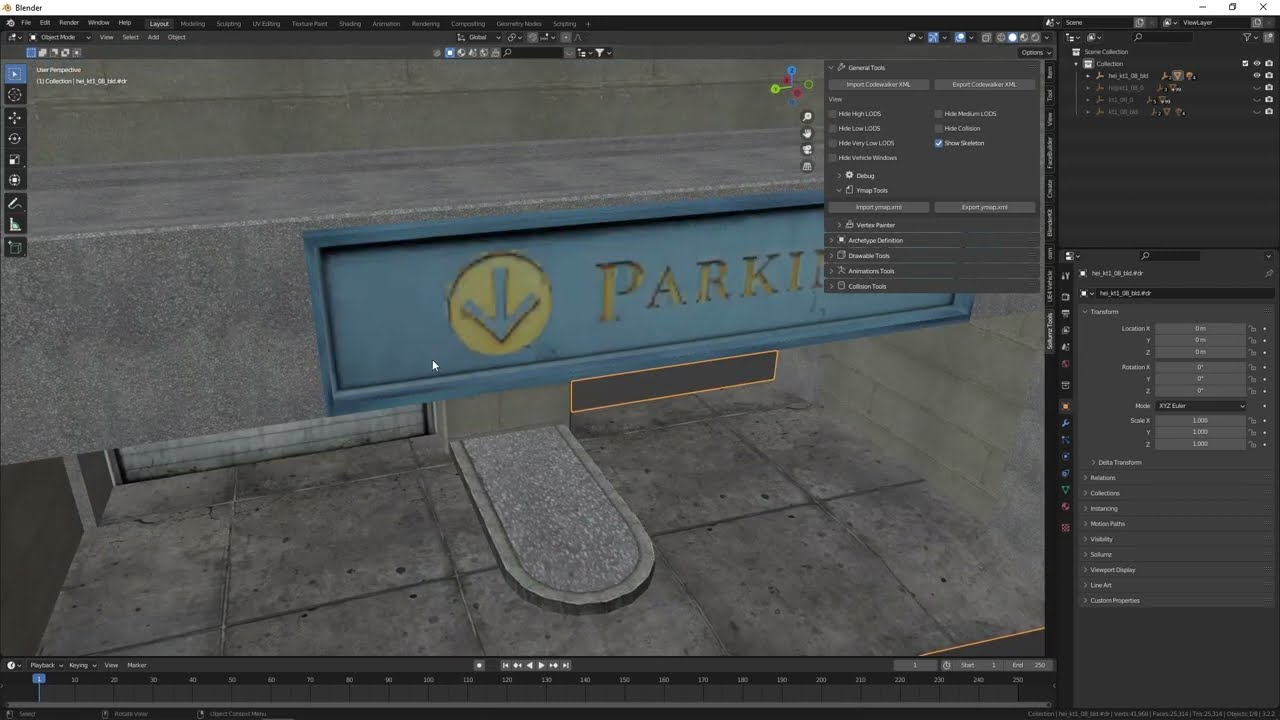
Step 2: Importing to CodeWalker
- Open CodeWalker and navigate to your FiveM server’s resource folder.
- Import the exported .ydr or .ytyp files.
- Use CodeWalker to place the MLO correctly in the game world.
Testing and Debugging in FiveM
Before rolling out (or selling) your MLO, testing is essential.
Step 1: Starting the Server
- Ensure the MLO is placed in the correct resource folder of your FiveM server.
- Start your FiveM server (
run.cmdorstart.bat) and connect to it using your FiveM client.
Step 2: Debugging Issues
- Load into the server and check if the MLO is appearing correctly.
- Test interactions with doors, windows, and other details to ensure they work as expected.
- If there are issues, revisit CodeWalker or Blender to fix them. You may need to adjust collisions or texture maps.
Optimizing Your MLO for Performance
Performance optimization – Why? For a smooth in-game experience. But how does this work? Simply:
Step 1: Reduce Polygon Count In Blender, ensure your models aren’t overly complex. Use the Decimate Modifier to reduce polygon count if necessary.
Step 2: Use Efficient Textures Avoid using large, high-resolution textures for minor details. Stick to textures that are a reasonable size for the object.
Step 3: Proper LODs (Level of Detail) Set up LODs in CodeWalker to ensure the game only renders high-quality models when necessary.
Common Issues and Troubleshooting
Problem: Model Is Invisible
- Ensure the MLO is placed correctly in CodeWalker.
- Check for missing textures or incorrect file paths.
Problem: Player Falls Through the Floor
- Ensure proper collision models are set up in Blender and exported correctly.
- Double-check that collisions are enabled in CodeWalker.
Problem: Textures Not Showing
- Ensure that textures are correctly mapped in Blender and exported in a compatible format
Helpful Videos
- MLO interior creation | How to create a custom MLO from scratch | GTA V Tutorial
- How to make a MLO for FiveM (Collisions & Occulsions)
Done.
Now you’ve learned how to plan, model, texture, export, and implement custom MLOs in a FiveM server, giving you the ability to create unique environments for players to explore and interact with.
As you continue to practice, you’ll develop better skills in 3D modeling, texturing, and optimizing performance. Don’t be discouraged by initial setbacks or technical difficulties; each problem you solve will bring you closer to mastering the art of MLO creation. The key is to experiment, iterate, and stay creative. The more time you invest, the more refined and sophisticated your MLOs will become.
We hope this tutorial has been helpful and encourages you to dive deeper into the world of FiveM development. Happy modding, and we can’t wait to see what incredible interiors you create for your FiveM server!